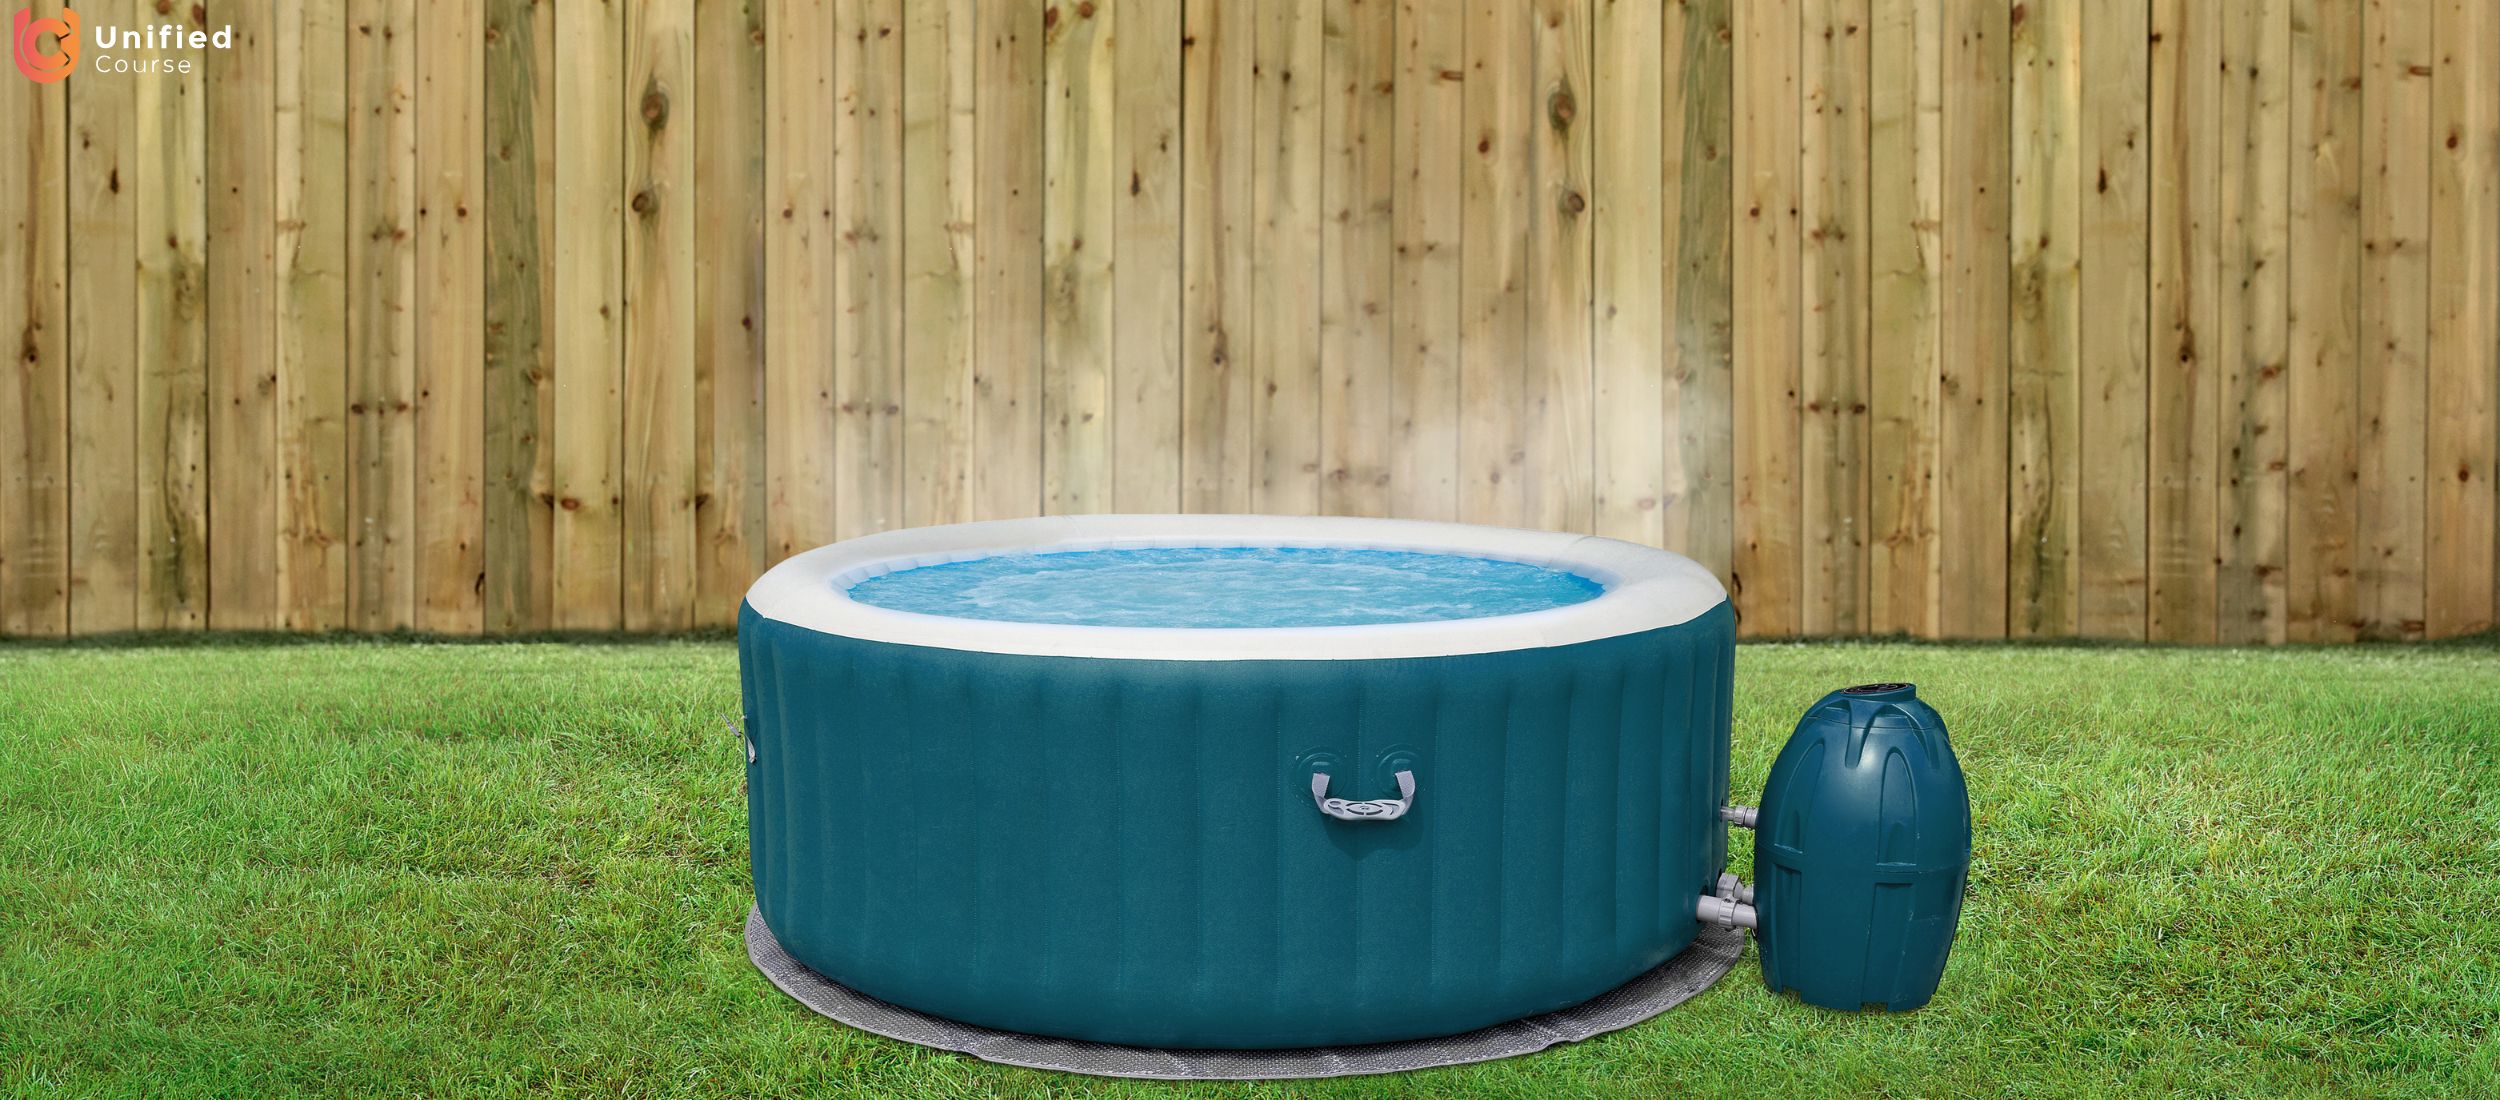
Are you looking for an easy way to deflate your Lay Z Spa while keeping it in top condition? Whether it’s the end of summer or you simply need to move it, knowing how to deflate your spa properly is crucial. A rushed or incorrect deflation process can lead to damage or create unnecessary hassle when you try to set it up.
Why Proper Deflation Is Essential
Deflating a Lay-Z-Spa might seem like an easy task, but doing it correctly makes all the difference. Improper deflation can lead to tears or stretching in the material, reducing lifespan. Moreover, storing the spa with air trapped inside can cause unnecessary stress on the seams. Therefore, following the correct steps ensures your spa stays in great condition for years to come.

Step-by-Step: How to A Deflate Lay-Z-Spa
Follow this step-by-step guide to properly deflate a Lay-Z-Spa to ensure a smooth and efficient deflation process.
Step 1: Turn Off and Unplug the Spa
Unplugging the pump and heater is necessary to avoid accidents or damage to electrical components. So, before you start the deflation process, you ensure the spa is fully powered off. This will prevent any electrical hazards and ensure that the spa’s system is completely inactive while you handle it.
Step 2: Drain the Water
Attach a garden hose or drainage pipe to the valve to remove all the water from your Lay-Z-Spa. Then, direct the hose to an appropriate area where the water can flow out safely. Allow the water to drain completely, ensuring that no water is left behind, which could cause mould or mildew during storage.
Step 3: Dry the Interior and Exterior
After draining the water, use a soft cloth or towel to dry both the inside and outside of your spa. This step is important to prevent mould or mildew from forming during storage. Pay close attention to the seams and folds where moisture can hide.
Step 4: Start the Deflation Process
To deflate your Lay-Z-Spa, start by removing the air. For models with automatic deflation, attach the pump to the deflation valve and activate the deflation setting. The pump will handle the process. However, if your model doesn’t include automatic deflation, open the air valve and gently press the spa’s sides to release the air.
Step 5: Fold the Spa Properly
Carefully fold the deflated spa, starting at one end and working your way toward the air valve to avoid trapping air as you go. Follow the spa’s natural folds to prevent stretching or damaging the material. Moreover, be gentle during the folding process to ensure the material remains intact and free from creases.
Step 6: Store in a Safe Place
Place the folded Lay-Z-Spa in its storage bag or box. Choose a cool, dry location for storage, away from direct sunlight or sharp objects that could cause damage. Additionally, ensure the area is free from moisture and temperature extremes to help preserve the spa’s material over time.

Tips for Effective Deflation
To ensure your Lay-Z-Spa is deflated safely and efficiently, it’s important to follow a few key tips that can make the process smoother and protect your spa.
- Don’t Rush the Process: Deflation takes time, especially if done manually. Rushing could lead to uneven folds or trapped air pockets.
- Inspect for Damage: As you deflate, check for small tears or weak spots. Fixing any issues immediately with a repair kit will prevent further damage.
- Clean Before Storing: Cleaning your Lay-Z-Spa before storage helps maintain its condition. Wipe down the surfaces with a mild soap solution, rinse, and dry thoroughly.
Common Mistakes to Avoid
Here are some of the common mistakes you should avoid when deflating your spa:
- Forgetting to Dry the Spa: Moisture left inside can lead to mould, which is difficult to clean later. Always dry the spa before storing it.
- Using Too Much Force: Pressing too hard while deflating can weaken the seams. Be gentle and patient throughout the process.
- Storing in a Poor Environment: Avoid storing your spa in damp or hot areas, as this can damage the material.
Storing Your Lay-Z-Spa
Proper storage is just as important as deflation. Follow these tips for the best results:
- Choose the Right Space: Keep your spa in a cool, dry place, away from harsh weather or extreme temperatures.
- Avoid Sharp Objects: Ensure nothing sharp is stored nearby that could puncture the material.
- Use a Cover: Place a protective cover over the spa to shield it from dust and moisture.
Conclusion
Learning how to deflate Lay-Z-Spa correctly is key to maintaining its condition and making the storage process easier. By following the steps outlined above, you’ll protect your spa from damage and ensure it’s ready for use when you need it.
Remember, deflation is not just about letting the air out. It’s about taking care of your spa, cleaning it thoroughly, and storing it in a way that preserves its quality. With these tips, your Lay-Z-Spa will be in excellent shape for many relaxing moments to come.
Frequently Asked Questions
How Long Does It Take to Deflate a Lay-Z-Spa?
On average, it takes 10–20 minutes to deflate a Lay-Z-Spa, depending on the size and whether you’re using an automatic pump.
Can I Leave My Lay-Z-Spa Partially Inflated?
No, leaving it partially inflated can weaken the material and put stress on the seams. Always deflate it completely before storing.
What Should I Do If I Find a Leak?
Use the repair kit provided with your Lay-Z-Spa to patch any leaks immediately. This will keep your spa in good condition for future use.


