Henna, a natural dye derived from the leaves of the henna plant, has been used for centuries to create beautiful and intricate designs on the skin. Whether you’re preparing for a special occasion or simply want to try something new, learning how to use a henna cone can be a fun and rewarding experience.
In this blog, we’ll walk you through the process step-by-step, ensuring you achieve stunning results every time by using a henna cone.
What You Need to Get Started
Before you begin, it’s important to gather all the necessary materials. Here’s what you’ll need:
- Henna Cone: Choose a high-quality henna cone from a reputable brand to ensure vibrant and long-lasting designs.
- Lemon Juice: Helps in darkening the henna stain.
- Sugar: Used to create a sealing mixture that keeps the henna moist.
- Cotton Balls or Swabs: For applying the lemon-sugar mixture.
- Tissue or Paper Towels: To clean any mistakes.
- Scissors: To cut the tip of the henna cone.
- Essential Oil (optional): Such as eucalyptus or lavender, to enhance the colour and aroma of the henna.
Preparing Your Skin
Before you start applying henna, it’s crucial to prepare your skin properly. This ensures that the henna adheres well and results in a deep, rich colour.
- Clean the Skin: Wash the area where you plan to apply henna with soap and water. Thus, this removes any oils or lotions that might prevent the henna from sticking.
- Exfoliate: This helps the henna penetrate better and last longer. So, gently exfoliate the skin to remove dead skin cells.
- Dry the Area: Make sure the skin is completely dry before you begin applying henna.
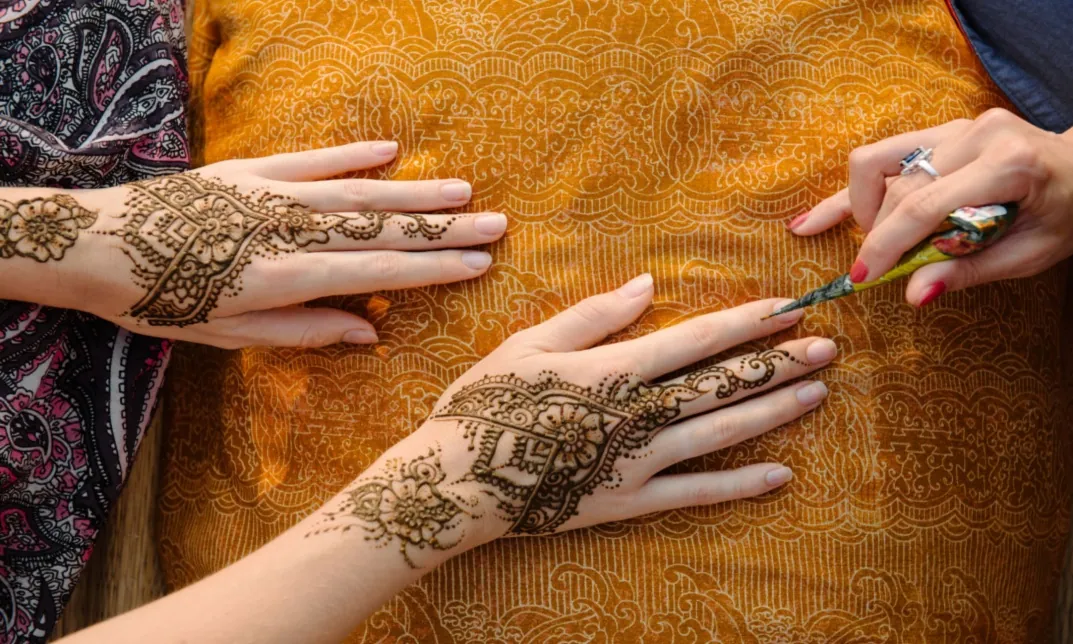
How to Use a Henna Cone
Now that your skin is ready, it’s time to learn how to use the henna cone. Follow these steps to create beautiful designs:
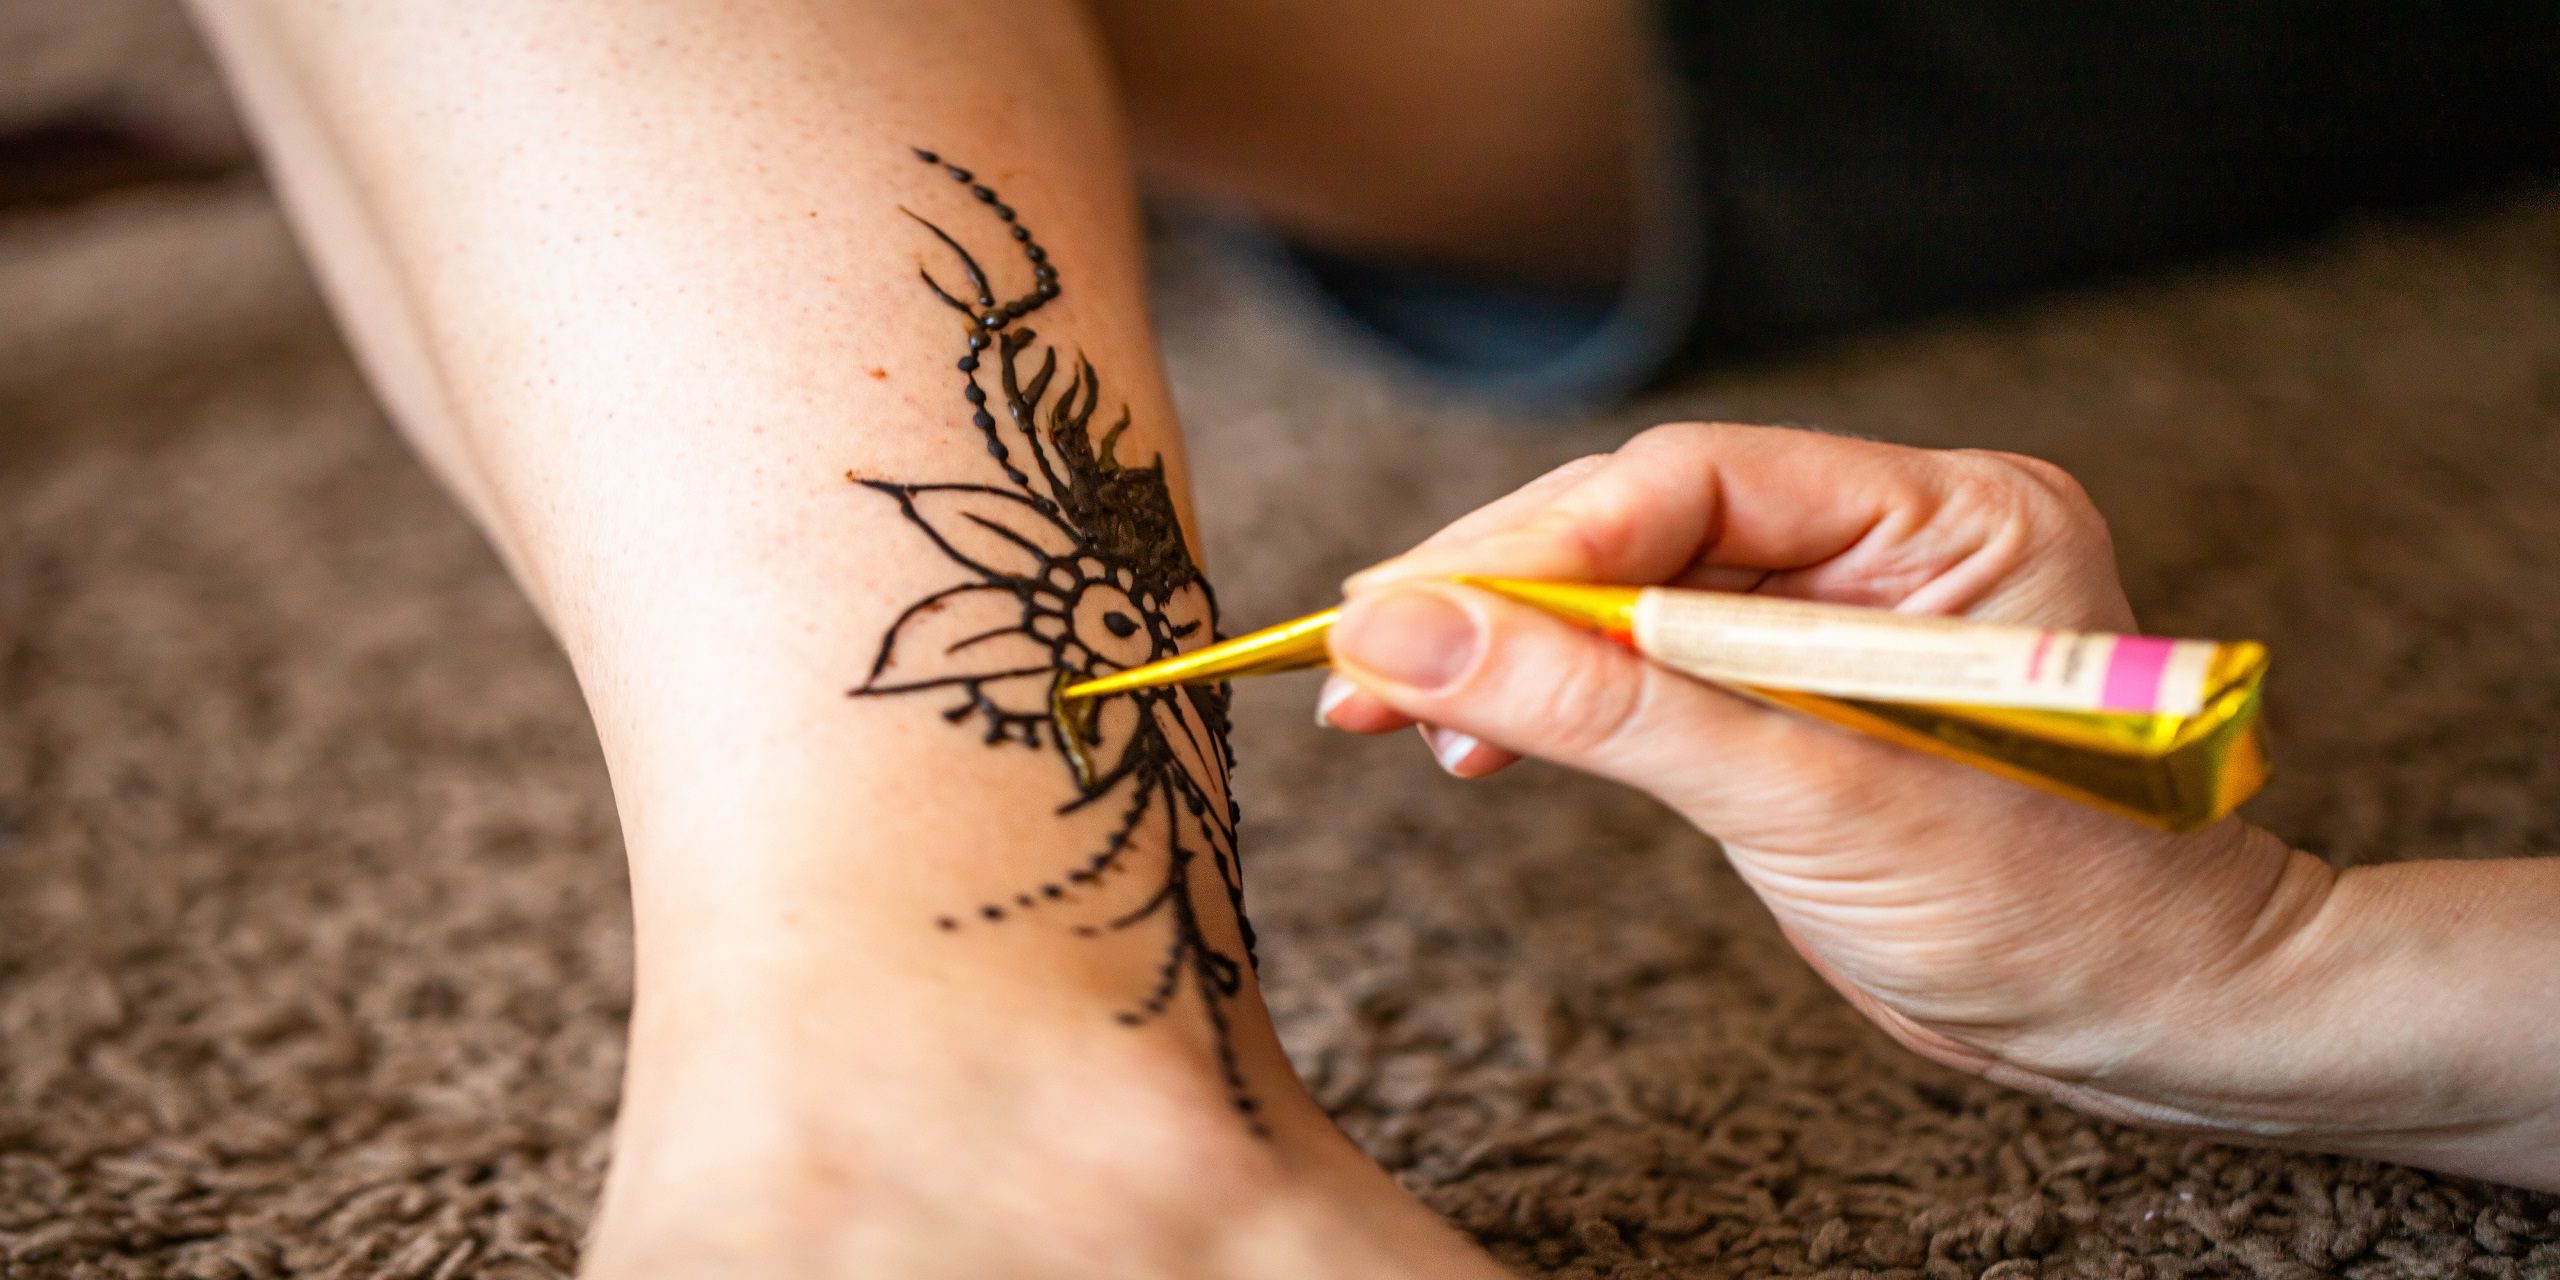
- Prepare the Henna Cone: Use scissors to cut a small opening at the tip of the cone. The size of the opening will determine the thickness of your lines, so start small and adjust as needed.
- Practice on Paper: Before applying henna to your skin, practice your design on a piece of paper. This helps you get a feel for the cone and adjust the pressure needed for different line thicknesses.
- Start with Simple Designs: If you’re a beginner, start with simple designs such as flowers, leaves, or dots. These are easy to create and look beautiful.
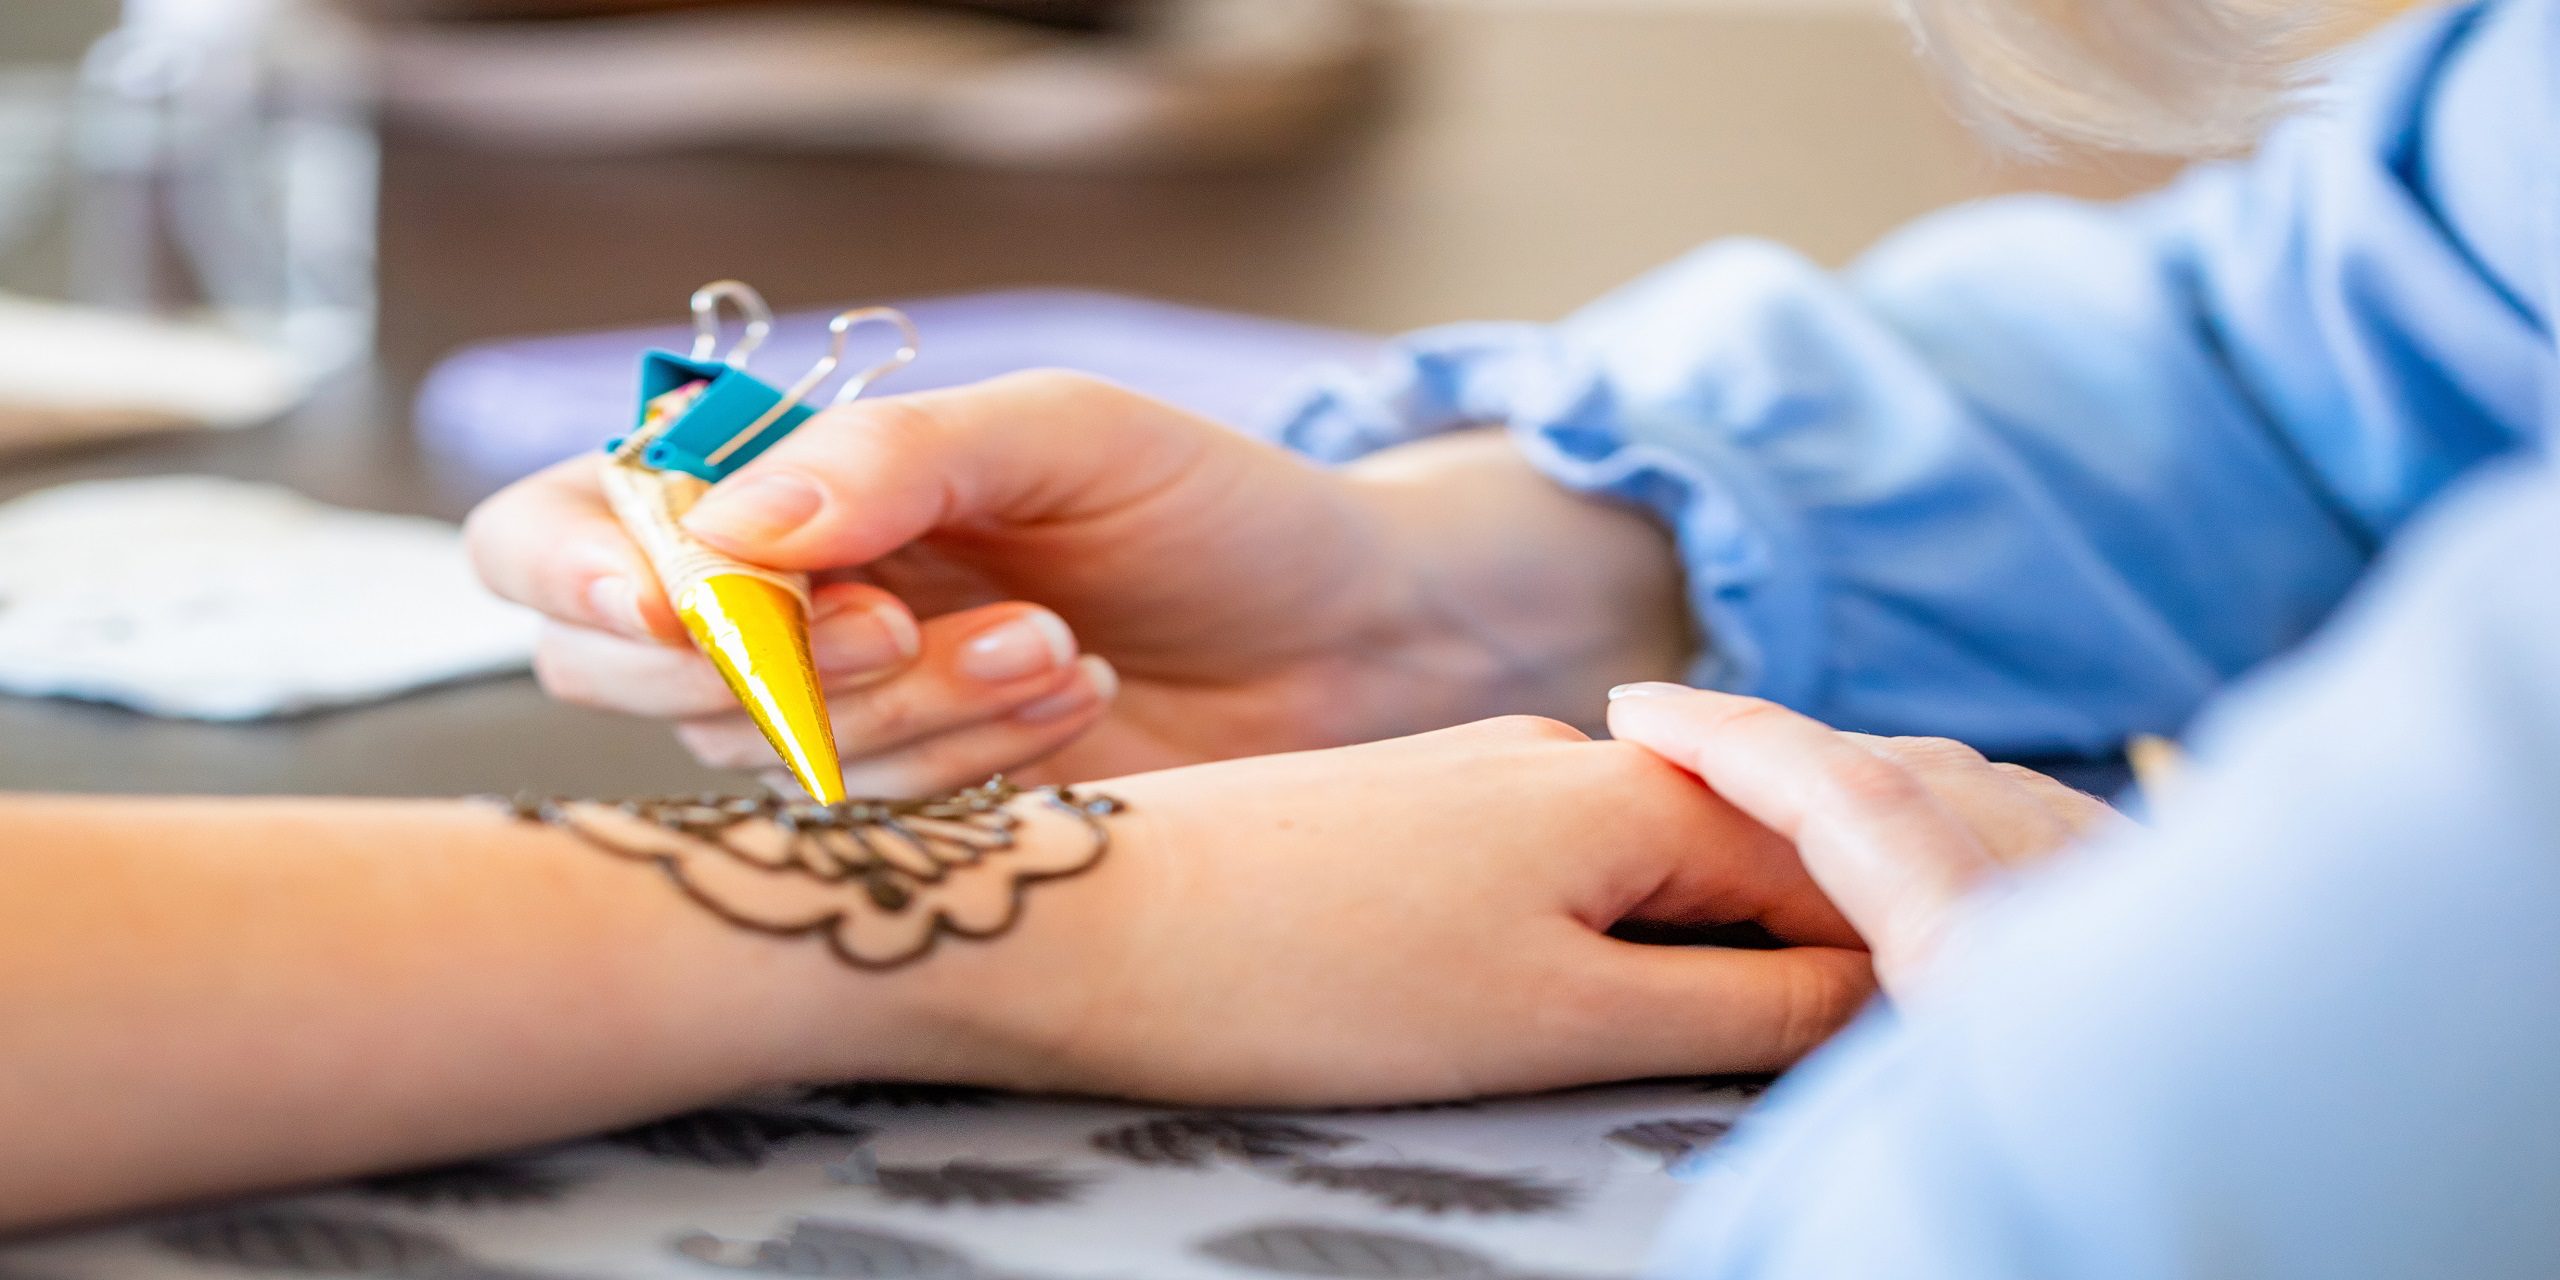
- Apply the Henna: Hold the cone like a pencil and gently squeeze it to release the henna. Move steadily and confidently as you draw your design on the skin.
- Correct Mistakes Quickly: Henna can stain quickly, so prompt action is key. So, if you make a mistake, use a tissue or paper towel to wipe it away immediately.
Aftercare for Long-Lasting Results
Once your design is complete, proper aftercare is essential to ensure the henna stain develops fully and lasts as long as possible. Some of the aftercare tips include:
- Let the Henna Dry: Allow the henna to dry completely. This usually takes 20-30 minutes, but it can vary depending on the thickness of your design.
- Apply Lemon-Sugar Mixture: Mix equal parts lemon juice and sugar, then apply it gently over the dried henna with a cotton ball. This helps keep the henna moist and improves the stain’s longevity.
- Leave Henna On: For the best results, leave the henna on your skin for at least 4-6 hours, or overnight if possible. The longer it stays on, the darker the stain will be.
- Remove the Henna: Once you’re ready, gently scrape off the dried henna paste using a blunt knife or your fingernail. Avoid washing the area with water immediately afterward.
- Avoid Water: Try to keep the area dry for at least 24 hours to allow the stain to deepen. When you do wash, use a gentle soap and avoid scrubbing the area.
Tips for a Darker Henna Stain
If you want a darker henna stain, here are some additional tips to consider:
- Use Essential Oils: Eucalyptus, tea tree, and lavender oils are popular choices. So, adding a few drops of essential oil to your henna paste can improve the colour.
- Stay Warm: Heat helps the henna stain develop. So, keep the area warm by wrapping it in a cloth or using a heating pad.
- Avoid Chlorine: Chlorine can fade henna stains, so avoid swimming pools for a few days after applying henna.
Conclusion
Learning how to use a henna cone is a delightful journey into the world of body art. With practice and patience, you can create stunning designs that reflect your personality and style. Remember, the key to a beautiful henna design lies in preparation, application, and aftercare. So, gather your supplies, find some inspiration, and start creating your own henna masterpieces today!